Basic Military Knots For Shelter Tying
Knot tying is an important skill for survival. There are a number of different knots that can be used for different purposes. Learning the basic knots can give you extra protection during unexpected events at the campsite and tie down shelters securely.
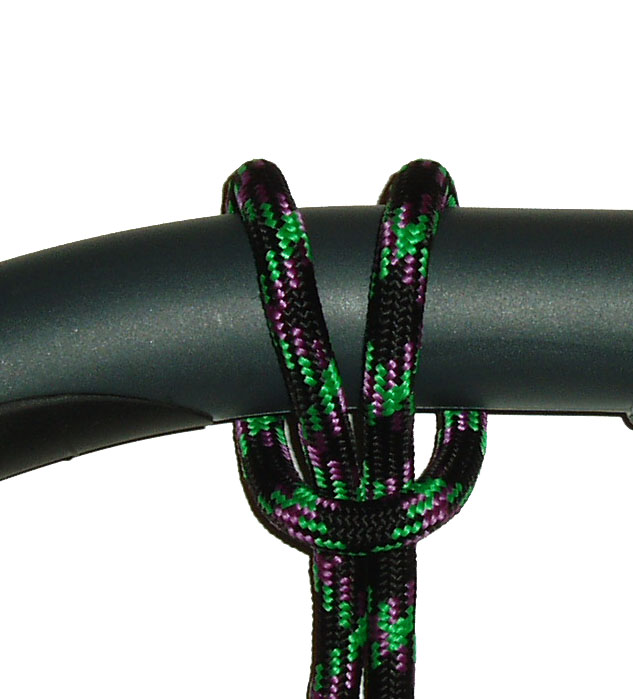
Girth Hitch

The girth hitch knot is a simple knot that can be used to secure a rope around a post or another object. It is also useful for attaching a rope to a harness or other piece of equipment. The girth hitch knot is easy to tie and can be done with one hand.
To tie the girth hitch knot, first, make a loop in the rope and hold it in your left hand. Pass the end of the rope around the object you are securing it to, and then pass it back through the loop. Tighten the knot by pulling on both ends of the rope.
The girth hitch knot can also be used to create a makeshift handle or lashing. To do this, pass the end of the rope around the object you want to attach it to and then tie an overhand knot with both ends of the rope. This creates a loop that will allow you to grip the rope more easily. You can then tie the end of the rope into a girth hitch to prevent it from slipping.
Bowline Knot

The bowline knot is one of the easiest knots to tie. It is commonly used to form a loop at the end of a rope. The bowline knot can also be used to create a fixed loop in the middle of a rope.
To tie the bowline knot, pass the working end of the rope around the standing part to form a loop. Pass the working end of the rope over and then under the standing part, then pull it tight. The bowline knot is also easy to untie.
The special properties of this knot make it useful for applications like attaching a mooring line to a buoy which you may use as a locator for a crawfish trap you set in a nearby lake for example. This type of knot holds well even when the standing part is pulled very tight. This property makes it popular with climbers who use it to attach rope grips to the ends of climbing ropes.
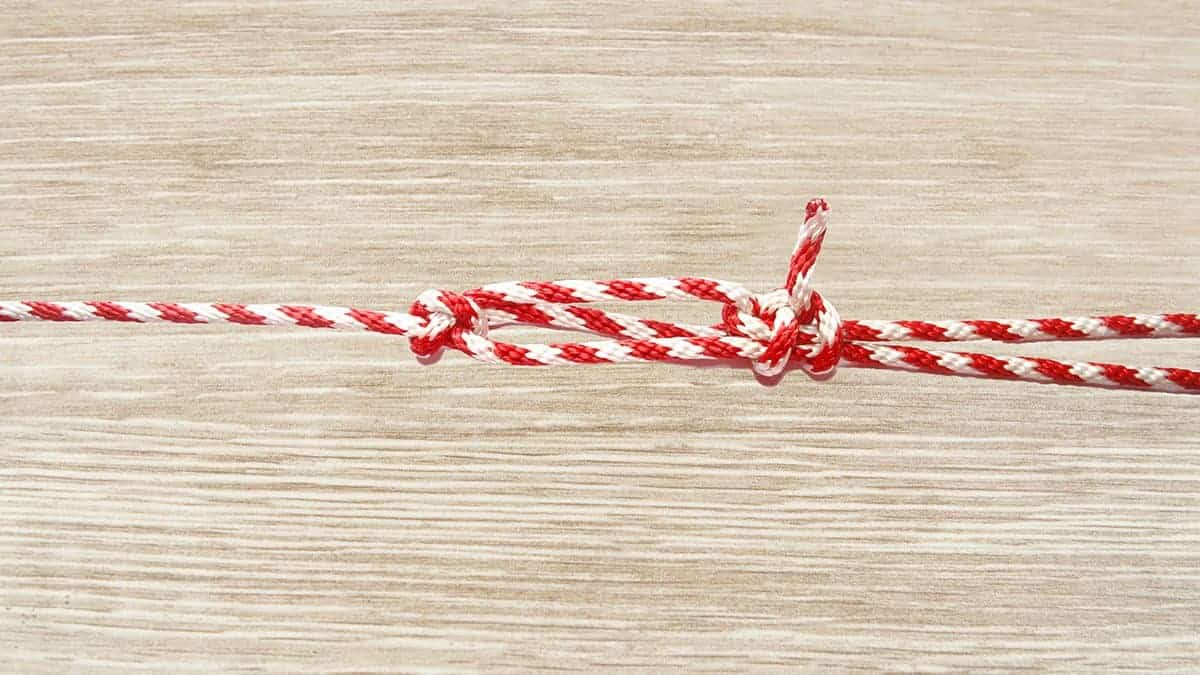
Trucker's Hitch

The trucker's hitch is a knot used to secure a rope to a post or another object. It is a fairly easy knot to learn and can be used in a variety of situations.
To make the trucker's hitch, you will need a rope and a post or other object to tie the knot around. First, make a loop in the rope and place it around the post or object. Then, cross the ends of the rope over each other and tuck them behind the loop. After that, pull the ends of the rope tight to cinch the knot up. To release the knot, untuck the end and pull it out of the loop.
Figure-8 loop

There are a few ways to make a Figure-8 loop. The first way is to start with a long piece of string or ribbon. Make a loop with the string and tie it together. Then, twist the loop to form a figure 8.
Another way to make a Figure-8 loop is to use two pieces of string or ribbon. Tie one piece of string around the other, making sure that there is enough slack between the two pieces of string. Make a loop with the top string and tie it together. Now, twist the bottom string to form the figure 8.
To lock the figure-8 from unraveling, you can tie it in a knot. This will keep the loop from becoming undone if you play with it too much or if it has something rubbing against it.
Lark's head knot

Making a larker's knot is a simple process that can be done with a little bit of practice. Take the end of your rope and make a loop with it. Make a second loop with the same rope, making sure to cross the first loop. Take the end of the second loop and put it over the first loop. Put the end of the first loop through the opening created by the second loop. Pull tight on all loops to complete the knot.
Knowing these knots can help you in a number of survival or tactical situations. Learn them or download our free guide to knots here!


